How to Configure a Nas for Backups: Easy Steps Guide
Imagine losing all your important files in an instant. It’s a terrifying thought, isn’t it?
Your photos, documents, and treasured memories all gone in the blink of an eye. But you can protect yourself from this nightmare by learning how to configure a NAS for backups. This guide is your ticket to peace of mind.
With a few simple steps, you can ensure that your files are safe and easily accessible whenever you need them. By the end of this article, you’ll feel empowered and ready to secure your digital life. Are you ready to take control and protect what matters most? Let’s dive in!
Choosing The Right Nas Device
Storage space is very important. Think about how many files you have. Storage capacity should meet your needs. Check the processor and RAM too. A good processor helps the NAS run fast. RAM makes sure the device doesn’t slow down. Look for reliable brands. This ensures your data is safe. Make sure the NAS has the features you want. Look for options like RAID support. This helps in case of drive failure. Consider the price and your budget. Don’t spend too much if you don’t need to.
| Brand | Features |
|---|---|
| Synology | Easy to use, good support |
| QNAP | Strong performance, many apps |
| Western Digital | Affordable, good storage options |
| ASUSTOR | Powerful, energy-efficient |
Setting Up The Nas Hardware
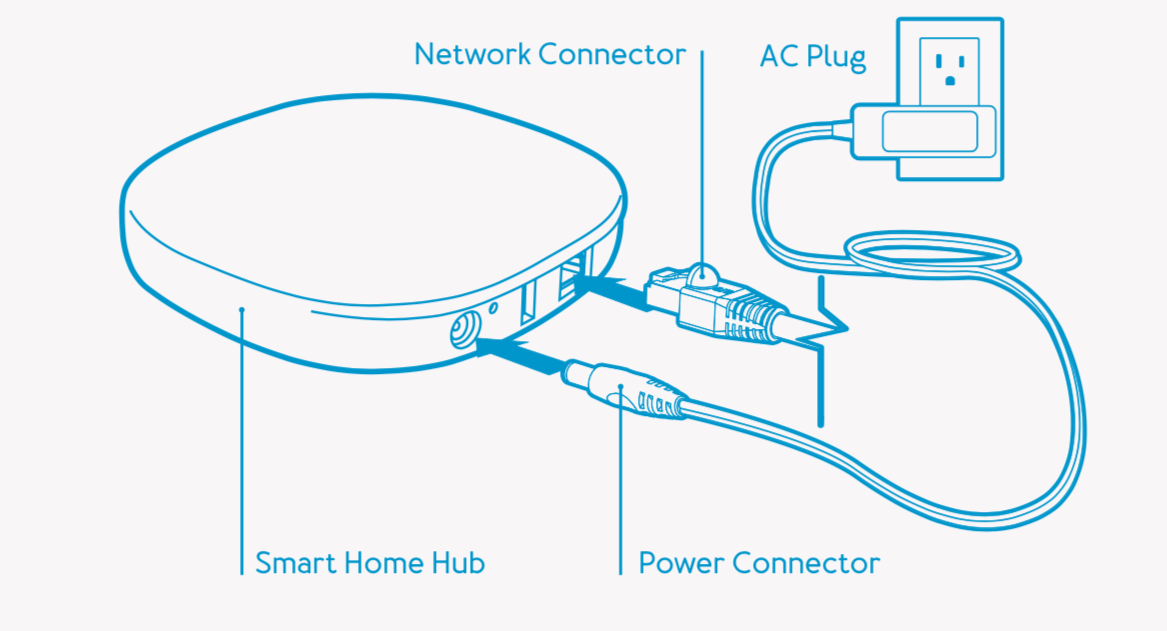
Carefully open the box. Remove all items. Check the contents. Find the NAS unit. Locate the power adapter. Place the NAS on a flat surface. Keep it away from heat. Ensure good airflow around it. Choose a spot with easy access. This helps in maintenance. Avoid cluttered areas.
Connect the NAS to the router. Use a LAN cable. Ensure it’s securely plugged in. Turn on the NAS. Wait for the lights. They should indicate power. Access your computer. Open the network settings. Locate the NAS device. Follow the instructions. Ensure a stable network connection. This ensures reliable backups.
Initial Nas Configuration
Start by connecting your NAS to the network. Use an Ethernet cable for this. Open a browser on your computer. Type the NAS IP address in the address bar. A login page will appear. Enter the default username and password. You will find these on the NAS manual. After logging in, you can see the NAS interface. Explore the options available.
Navigate to the user account section. Click on ‘Create New User’. Fill in the required fields. Use simple usernames for easy access. Set passwords that are strong but easy to remember. Assign storage limits if needed. Ensure each user has access to necessary folders. Review settings before saving. This keeps your data secure.
Setting Up Storage Volumes
Configuring a NAS for backups involves setting up storage volumes efficiently. Choose the right NAS device and connect it to your network. Create storage volumes to organize and manage data securely, ensuring easy access and retrieval during backups.
Understanding Raid Levels
RAID helps in storing data safely. It uses multiple disks. RAID 0makes storage fast but less safe. RAID 1copies data on two disks. This keeps data safe. RAID 5uses three or more disks. It offers both safety and speed. Pick RAID based on needs. Understand each level well. Choose wisely for backup safety.
Creating And Managing Volumes
Create storage volumes on the NAS. Volumes hold your data. Start by picking a disk. Then, make a volume. Use NAS tools to do this. Add files to the volume. Manage space carefully. Check the space often. Delete old files to make space. Keep your NAS tidy and organized. Manage volumes regularly for best results.
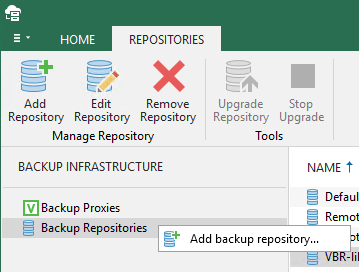
Configuring Backup Settings
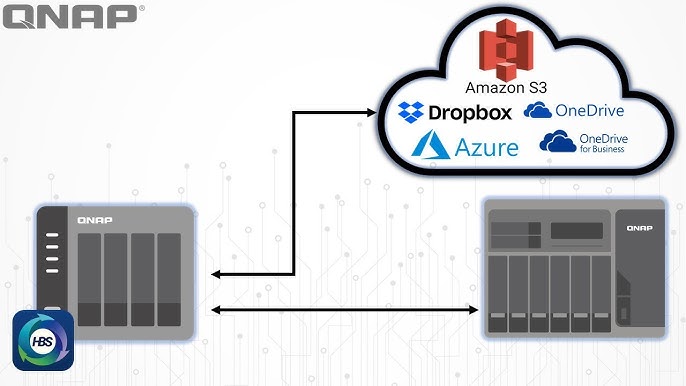
Choosing the right software is crucial for effective backups. Some software offer easy setup and user-friendly interfaces. Others provide advanced features for tech-savvy users. Consider your needs before deciding. Check if the software supports your NAS model. Make sure it fits your budget. Many options are available online. Always read reviews before making a choice.
Scheduling backups ensures your data is always safe. Most backup software allow automatic scheduling. Decide how often you need backups. Daily backups are common. Some prefer weekly backups. Regular backups prevent data loss. Always choose a time when network traffic is low. This ensures faster backups. Set it and forget it. Your data will be safe.
Testing Your Backup System
Configuring a NAS for backups ensures data safety and easy access. Begin by connecting the NAS to your network. Use backup software to schedule regular data copies.
Performing A Test Backup
Start by choosing a small set of files. This makes testing faster. Use files that change often. These are perfect for a test backup.
Check the backup settings. Ensure files are backed up correctly. Look at the destination folder. Make sure the files appear there.
Run the backup process. Watch for any errors. Fix them if they pop up. This keeps your system reliable.
Verifying Data Integrity
Open a few backed-up files. Compare them to the originals. Ensure they match exactly. Look for any missing data. This could indicate an issue.
Check file formats. Ensure they remain unchanged. Broken formats mean corrupted files. Make sure every file is usable.
Use software tools to check integrity. They can spot hidden errors. This ensures your backup is safe and accurate.
Enhancing Security Measures
Configuring a NAS for backups strengthens security. Set up user permissions to control access effectively. Regularly update firmware to protect data from vulnerabilities.
Setting Up Access Controls
Secure your NASby controlling who can access it. Set up user accounts for each person. Give each user a unique username and password. This stops strangers from getting in. Limit what each user can do. Some users can read files. Others can change files. Choose carefully. Only trusted people should have full access. Protect your NAS like a treasure box.
Enabling Encryption
Encryption keeps your data safe. It turns your files into secret code. Only people with a key can read them. Set up encryption on your NAS. It’s like locking your data in a safe. Use strong encryption methods. They make it hard for thieves to break the code. Keep your encryption keys in a safe place. Share them only with trusted people. Encryption adds a layer of protection to your NAS.
Monitoring And Maintenance
Regular checks keep your NAS healthy. Always check the storage space. Ensure there’s enough space for backups. Look at the log files. They show if something is wrong. Check the network connection too. A bad connection can cause problems. It’s also good to test the backups. Make sure they can be restored. This step is very important.
Keeping firmware updated is vital. New updates fix bugs. They improve security. Always use the official website for updates. Download the latest version. Follow the instructions carefully. Some updates need a system restart. Plan updates during low usage times. This avoids disruptions. Make sure to back up important data before starting.

Frequently Asked Questions
What Is A Nas Used For?
A NAS is used for storing and sharing data across a network. It centralizes data management, making backups easier. It provides reliable and scalable storage solutions for home and business environments. NAS devices can also offer additional features like media streaming and remote access.
How Do I Set Up Nas Backups?
To set up NAS backups, first, connect your NAS to the network. Then, configure the backup settings using the NAS management software. Choose the files and schedule for automatic backups. Ensure your NAS has enough storage capacity. Regularly monitor the backup process for any errors or issues.
Can Nas Improve Backup Efficiency?
Yes, NAS can improve backup efficiency significantly. It centralizes data storage, making it easier to manage and access. Automated backup scheduling reduces manual intervention. NAS devices often come with optimized hardware, speeding up data transfer. They provide redundancy and scalability, ensuring reliable backups over time.
Is Nas Suitable For Personal Use?
NAS is suitable for personal use due to its versatility and ease of use. It simplifies data management for home networks. Users can store, share, and access files remotely. NAS devices are ideal for media streaming and backup needs. They offer user-friendly interfaces and varied storage options.
Conclusion
Setting up a NAS for backups can be simple. Follow the steps carefully. Choose the right NAS for your needs. Connect it to your network. Configure the settings for automated backups. Keep your data safe and accessible. Regular backups protect important files.
Troubleshooting issues may arise. Seek help if needed. Enjoy peace of mind with secure storage. Your data stays protected. Backup solutions offer reliability. A NAS provides a smart backup choice. Stay consistent with your backup schedule. Enjoy the simplicity and security of a well-configured NAS.
Read More:
- Noise‑Cancelling Headphones Comparison: Ultimate Guide
- Time Management Apps Compared: Boost Your Productivity
- Ai Chip Market Growth 2025: Unveiling Future Trends
- Best Cloud Storage Services 2025: Top Picks Revealed
- Essential Tech Gadgets for Digital Nomads: Must-Have Tools
- Vr Hardware Cost Analysis: Unlocking Budget Insights
- Top Productivity Tools for Remote Teams: Boost Efficiency
- Ergonomic Home Office Setup Tips: Boost Comfort & Productivity